How to Make Crepe Paper Roses (With Free Templates)
This post may contain affiliate links that won’t change your price but will share some commission.
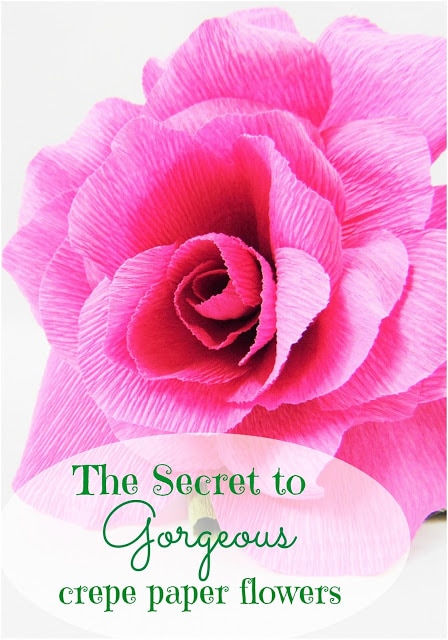
Making crepe paper roses is an ideal choice for learning to craft realistic flowers from crepe paper. The secret – actually secrets – for crafting these beautiful blooms rests in a little bit of helpful knowledge that I’m excited to share. These useful tips will go a long way in helping you achieve great results in creating the perfect crepe paper flowers.
In this tutorial, we’ll be making a beautiful pink crepe paper rose. Before we go to the tutorial, let’s run through those secrets for creating a gorgeous crepe paper flower that will give you a final look you can enjoy or share with friends and family.
You may also like…
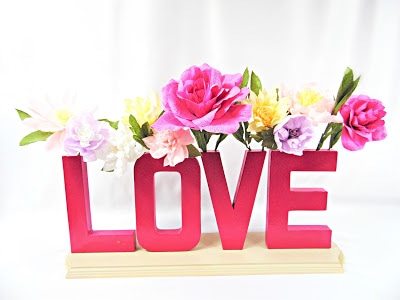
Trendy Typography Letter Vase with Crepe Paper Flowers
1. Consider the Unique Texture of Crepe Paper.
Did you know that crepe paper has a stretching capacity of 50%?
Since crepe paper stretches easily, keep this in mind as you work with it. So don’t cut huge petals, thinking your crepe paper flower might be too small. Less is more!
Also, this means when you go to shape the petals (pulling and cupping them – more on this below), your petals are going to expand in size, almost double depending on how much you decide to pull at the petals.
Besides having the ability to “grow,” the petal texture of crepe paper is almost similar to the real deal. And like real flowers, you’ll find crepe paper sheets in a variety of different colors and hues that are quite realistic.
It’s Easy to Get into Shape.
Unlike card stock, which I’ve used a lot and taught others to use, you don’t have to work as hard with crepe paper to get the petals to look like, well…like petals. Its pliable texture helps with that, so you don’t need to spend as much time shaping each petal.
2. Go With The Grain.
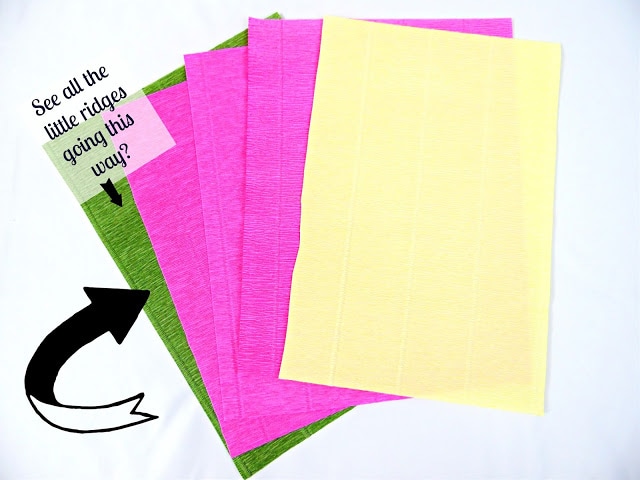
To hold their shape, it’s important to cut the petals in the direction of the grain of the crepe paper, not across the grain. This can’t be emphasized enough. Everything about crepe paper flowers involves going in the direction of the grained ridges.
Cutting your petals so the vertical ridges run parallel to the petal length allows you to shape them properly. Look closely at the image below and you’ll see what I mean.
And now, the most important tip for achieving the perfect crepe paper flowers…
3. Use a high-quality crepe paper.
Truly, this is the single most important thing. Even if you follow the first two tips, you must have an excellent crepe paper, or it won’t matter, plain and simple. A good quality crepe paper is textured with a lot of vertical ridges.
So, let me give you my absolute favorite crepe paper source: Carte Fini. We’re not talking thin streamer rolls; rather, premium Italian crepe paper with over 200 stunning colors and shades to choose from, including double-sided crepe paper (two unique colors fused into one sheet).

Materials
- Pink crepe paper in 60, 90 or 180 grams
- Green crepe paper (for leaves)
- 18-gauge wire
- Floral tape
- Scissors
- Small dowel or pencil
- Find the crepe rose template inside the AKC Craft Vault for free!
Instructions for Making Crepe Paper Roses
Here we go with easy instructions for creating your gorgeous pink roses!
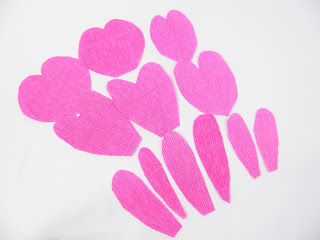
1. Cut The Petals.
First, you’ll be cutting the 3 petal shapes in various sizes, as shown below.
- 6-7 small petals
- 5-6 medium petals
- 5-6 large petals
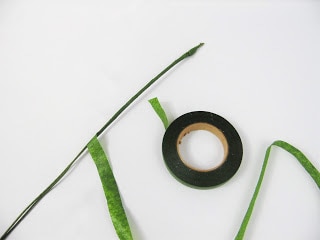
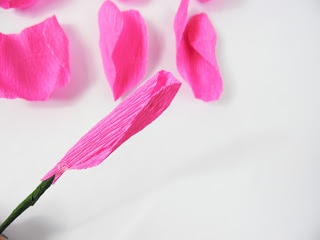
2. Create the Stems.
Then, once you’ve cut your petals, grab 2 pieces of 18-gauge wire and wrap with floral tape.
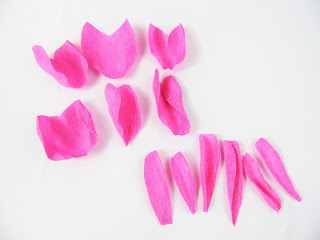
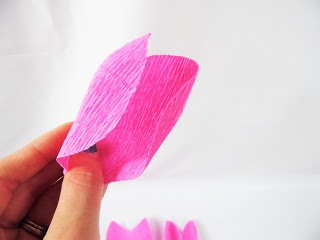
3. Shape the Petals.
Now, you want to do the pulling and cupping technique that shapes and contours the flower petals. One of the best ways to do this is to gently pull the edges inward. It will come naturally and should give you something like the following:
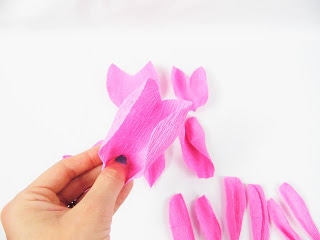
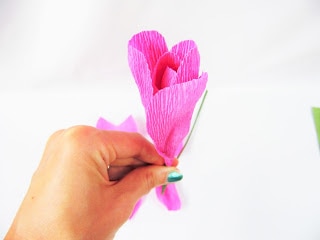
4. Create the Center.
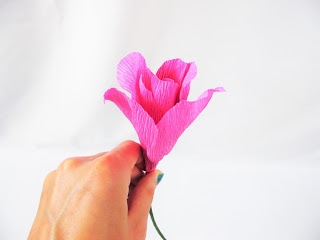
Next, grab your stem and one small petal and wrap it around the stem. This is the center of the rose.
5. Add the Small Petals.
Now that you’ve created the center, continue with the other 5 small petals going around in the same way. Be sure not to make them too tight. You want the rose to look like it’s blooming.

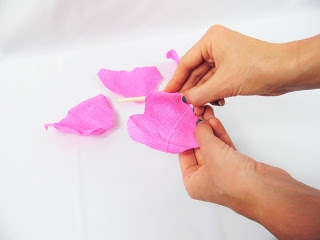
6. Curl the Large Petals.
For the large petals, use a thin dowel, pencil, or spare glue stick to curl back the edges.
7. Add the Medium Petals.
Begin adding on the medium petals.


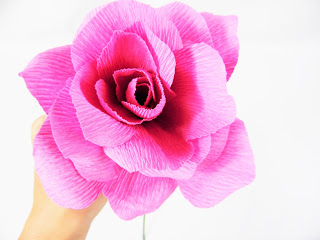
8. Add the Large Petals.
With small and medium petals now attached, keep going around with the large petals.

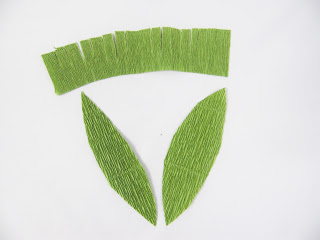
9. Add the Leaves.
Lastly, cut a few leaves and one long, thin rectangle with fringe edges to wrap around the rose’s underside. Just as you did for the petals, remember to pull and cup your leaves too!
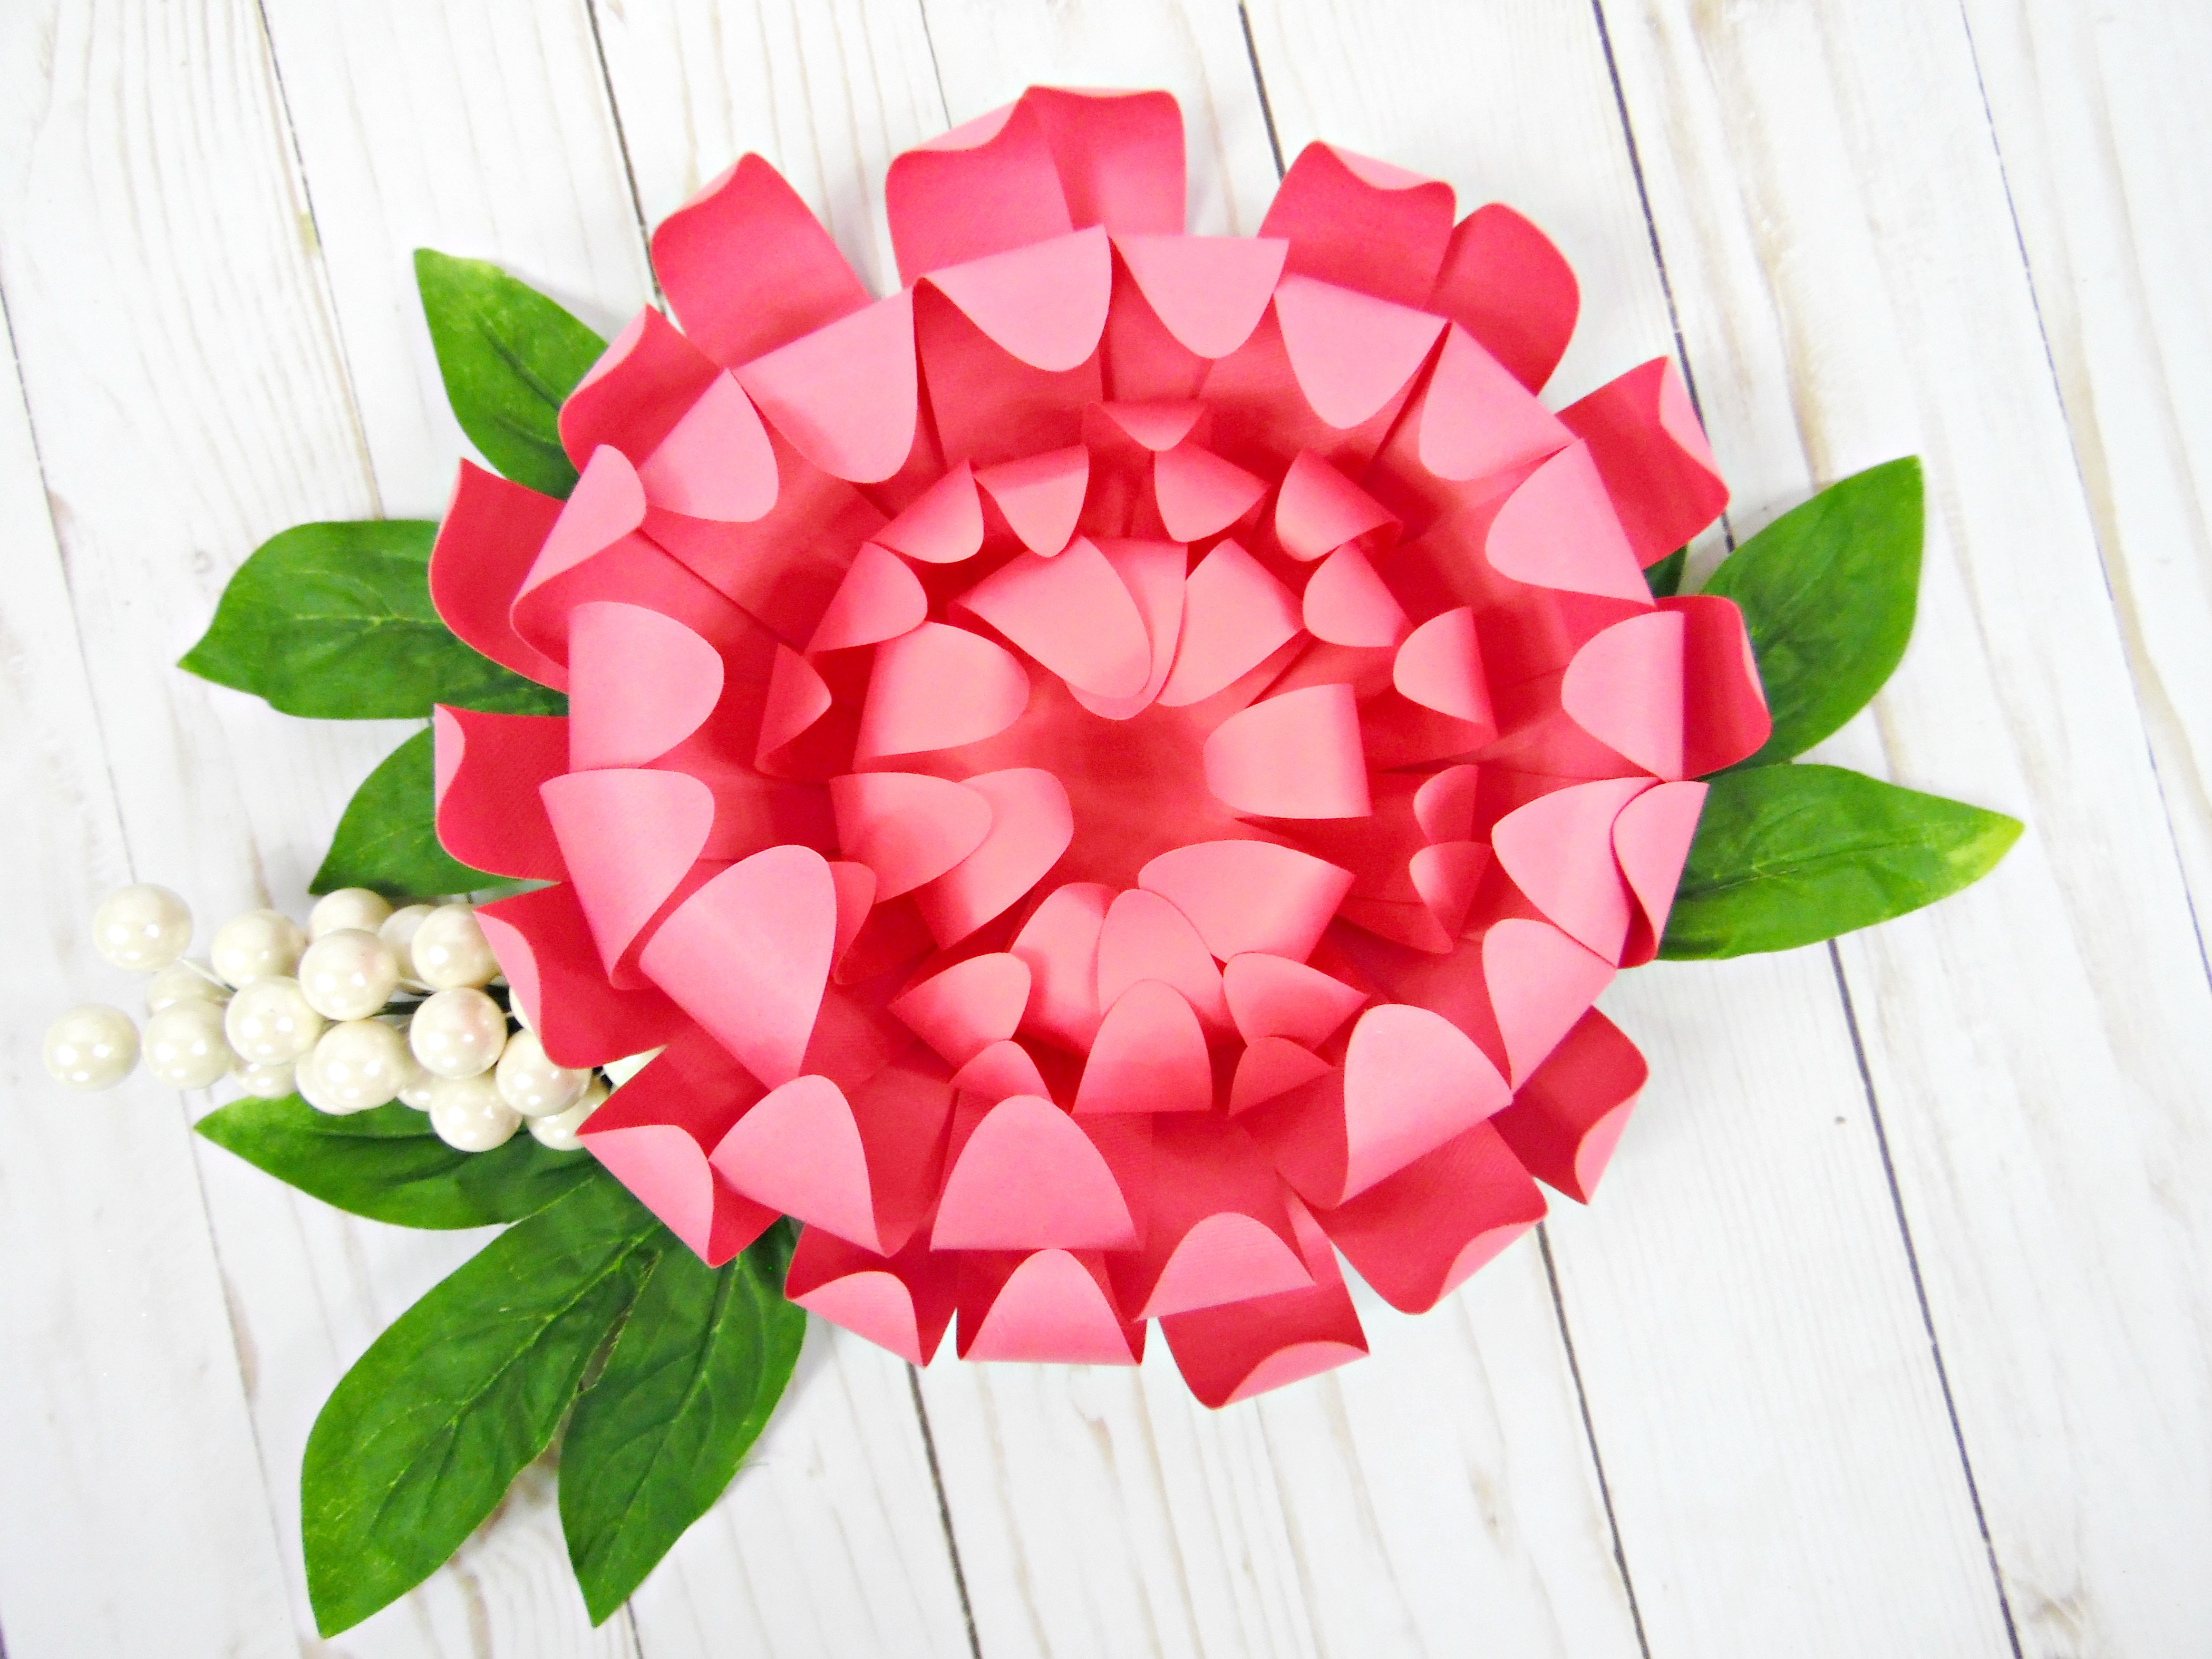
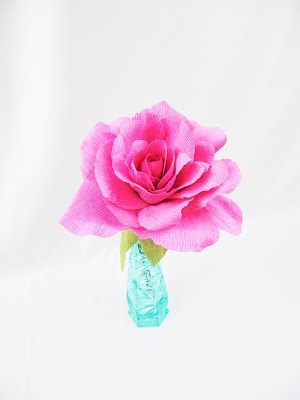
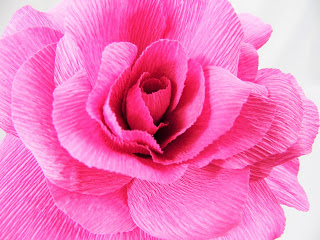
So there you have it! A lovely, realistic-looking pink rose whose petals do not fall or fade.
– Ralph Waldo Emerson
Find more crepe paper flower tutorials and templates here.